
You can read about getting started with SpectroCuvette™ One here.
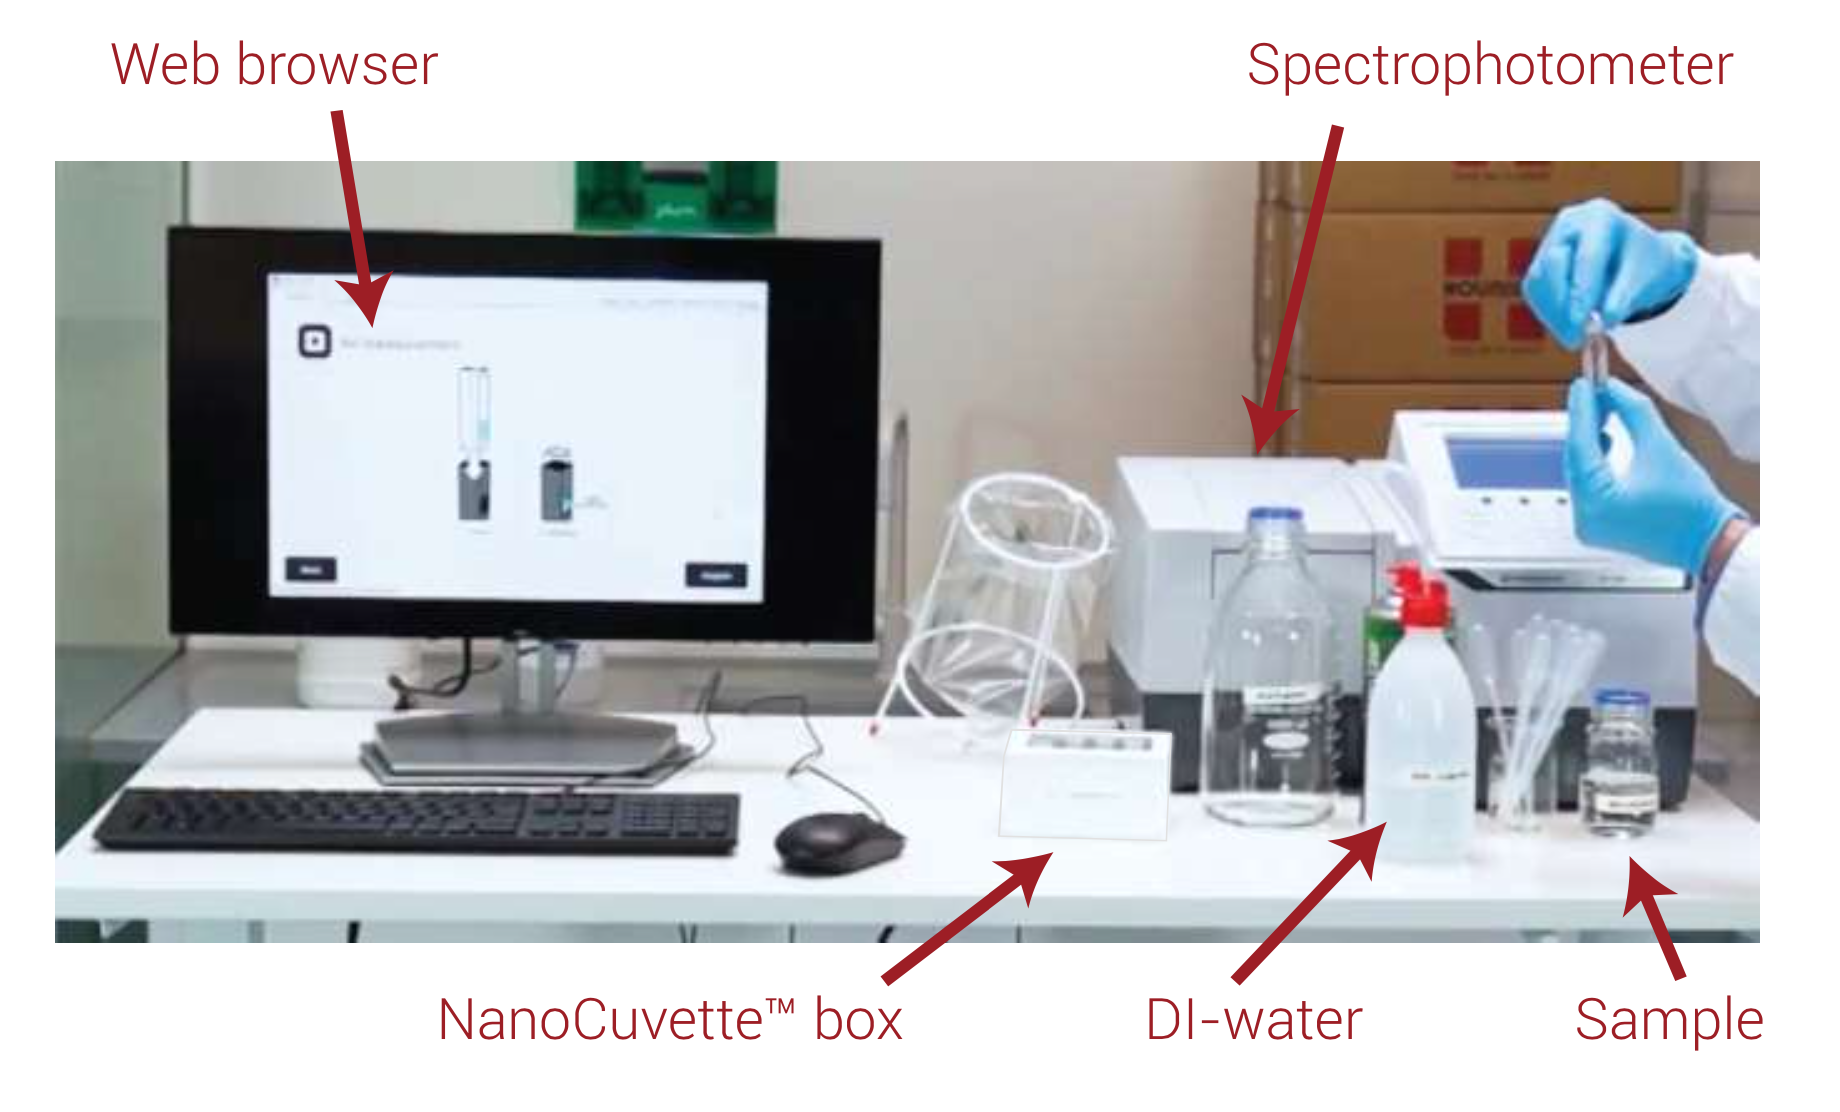
Prepare for measurement
Sign in to app.spectroworks.com
Read how to create an account for SpectroWorks™ here.
 |
Step 1 – Start
Step 1.1: Create project and measurement
Create a new project and choose your desired results
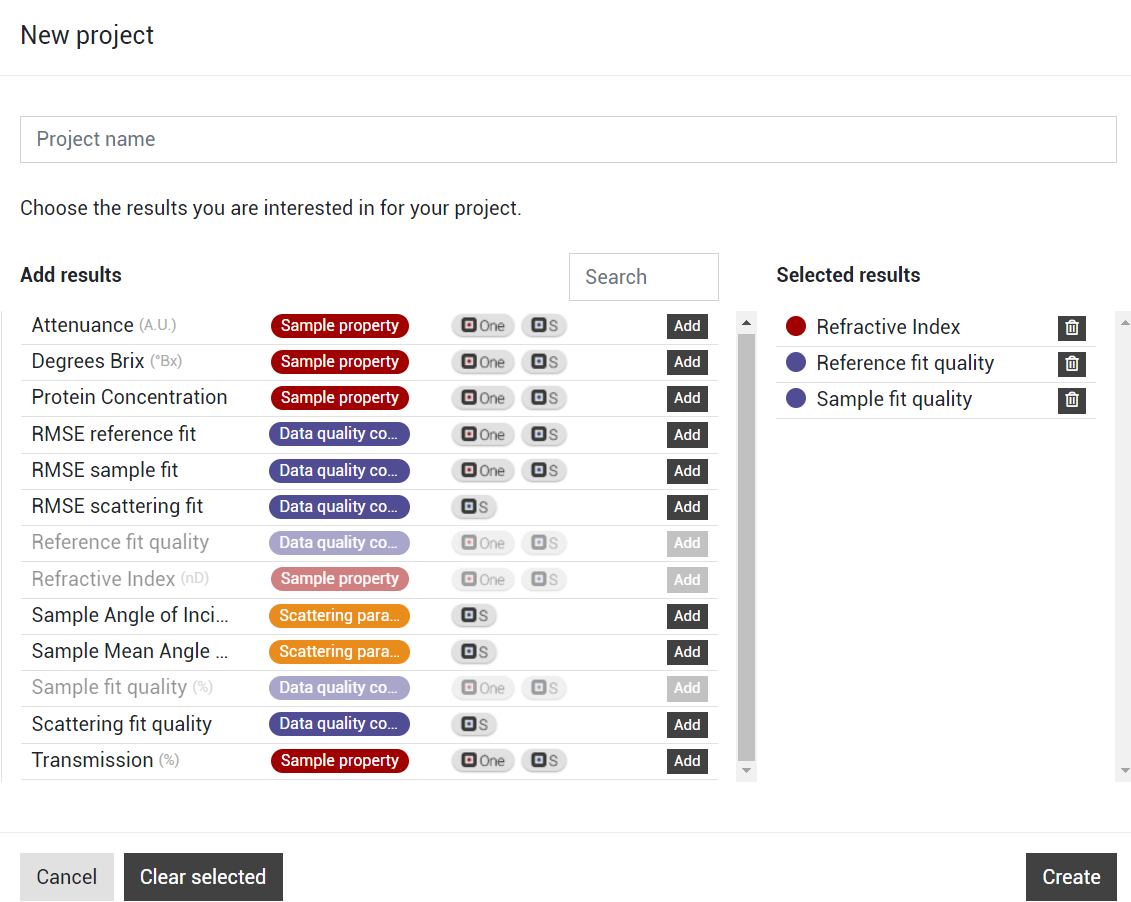 |
Go to the Create tab to start a measurement
 |
Step 1 – Start
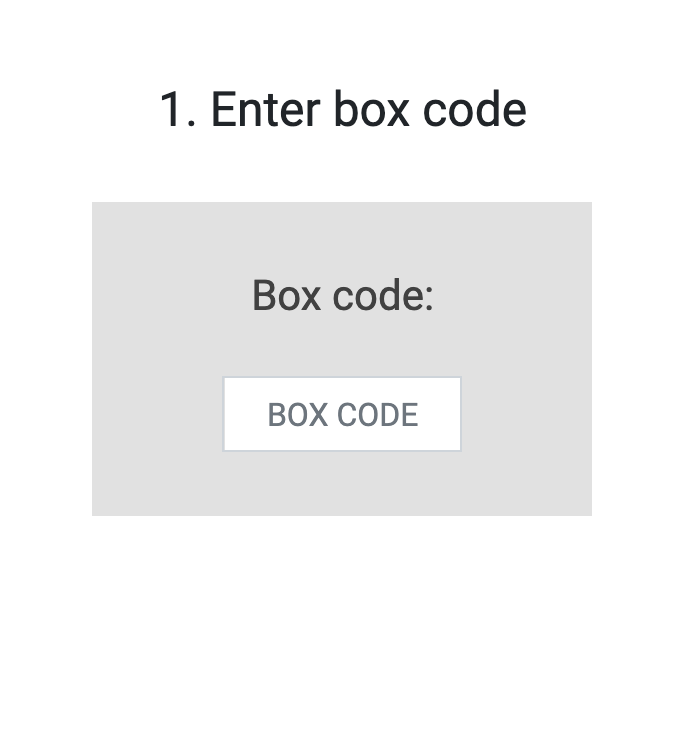
Step 1.2: Enter box code
Find the box code at the bottom of your SpectroCuvette™ box
 |
Step 1 – Start
Step 1.3: Select SpectroCuvette™ in box
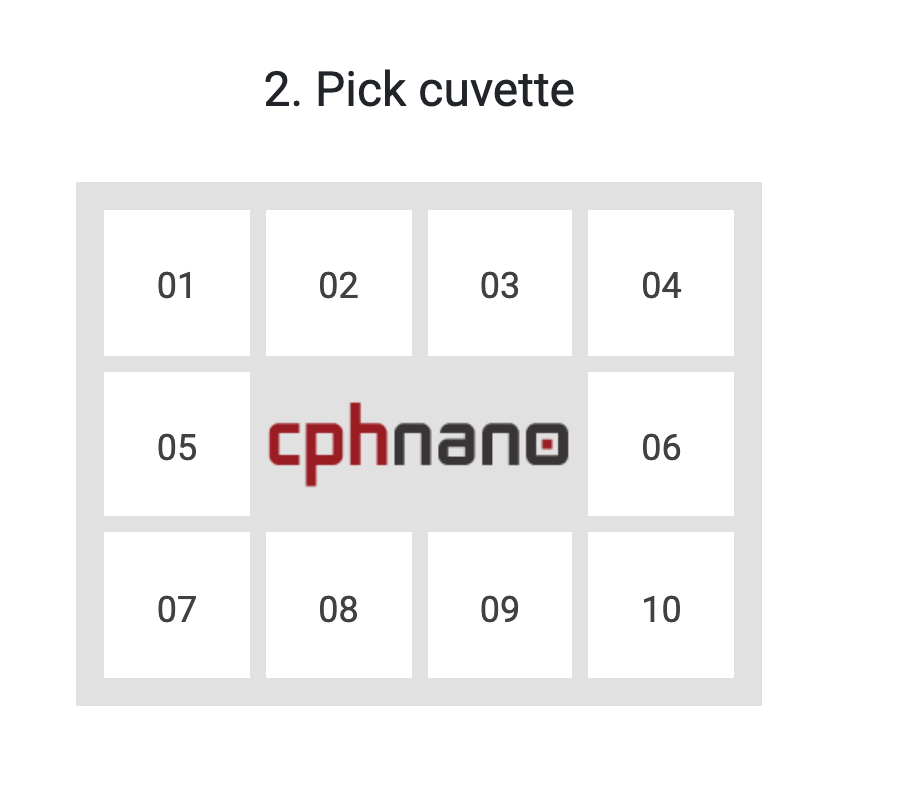
Pick a SpectroCuvette™ in the box and select it by clicking the corresponding number on the screen.
 |
Step 2 – Reference
Step 2.1: Acquire reference B-side spectrum
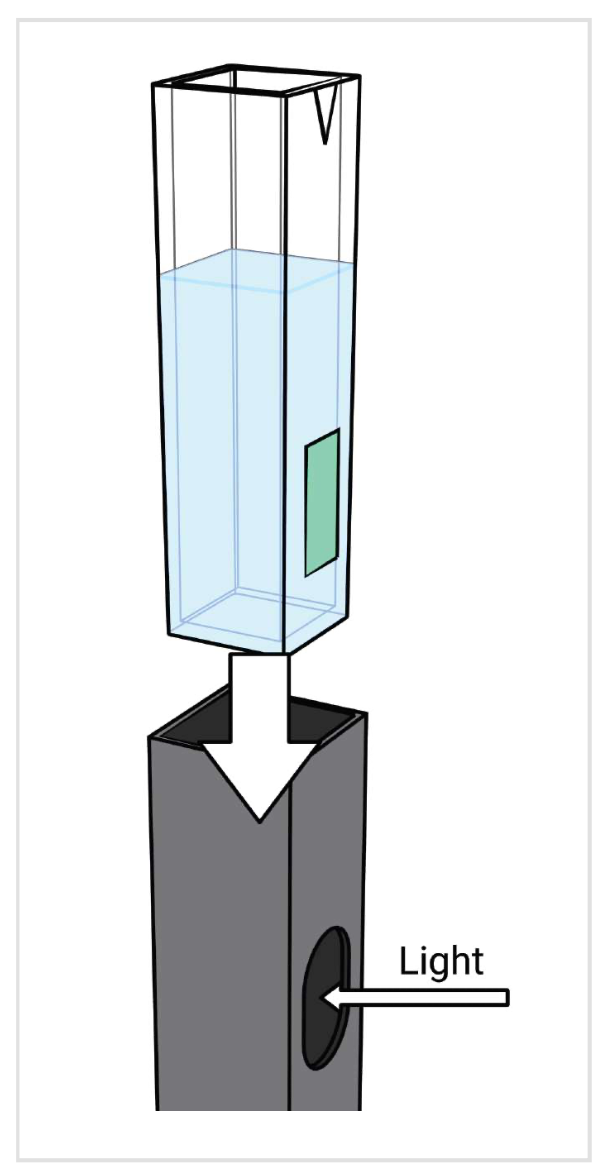
- Carefully dispense DI- water into the SpectroCuvette™.
- Place the SpectroCuvette™ in the cuvette holder of your spectrophotometer with the B- side (side with the optical filter) facing the light source.
- Acquire the reference B- side spectrum with your spectrophotometer. The scanning interval should include 550 – 800 nm. For best results use the highest possible scanning resolution. The software supports up to 4500 data points per spectrum.
- Save the measurements as .txt or .csv file.
Step 2 – Reference
2.2: Upload reference spectrum
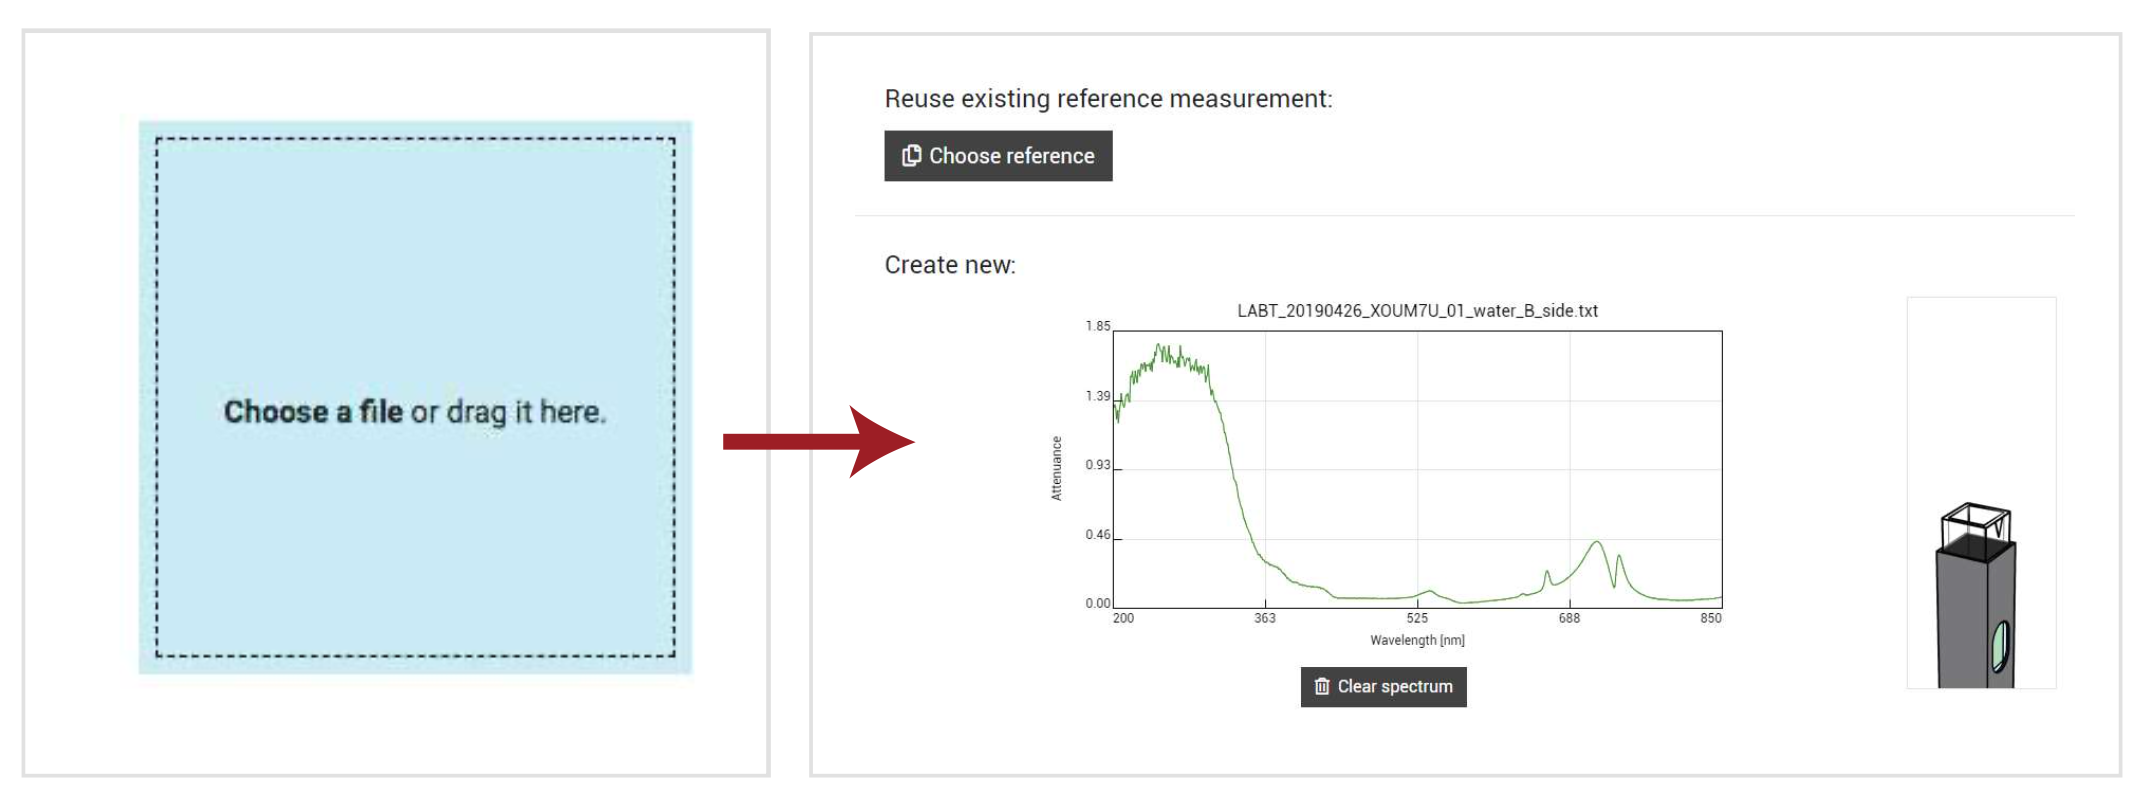
- Upload your reference spectrum by dragging the file onto the blue box or clicking on it and choosing your file.
- Once uploaded, the reference spectrum for DI- water will be shown. Click "Next" to fit the software model to your reference spectrum.
 |
Step 2 – Reference
Step 2.3: Check reference quality
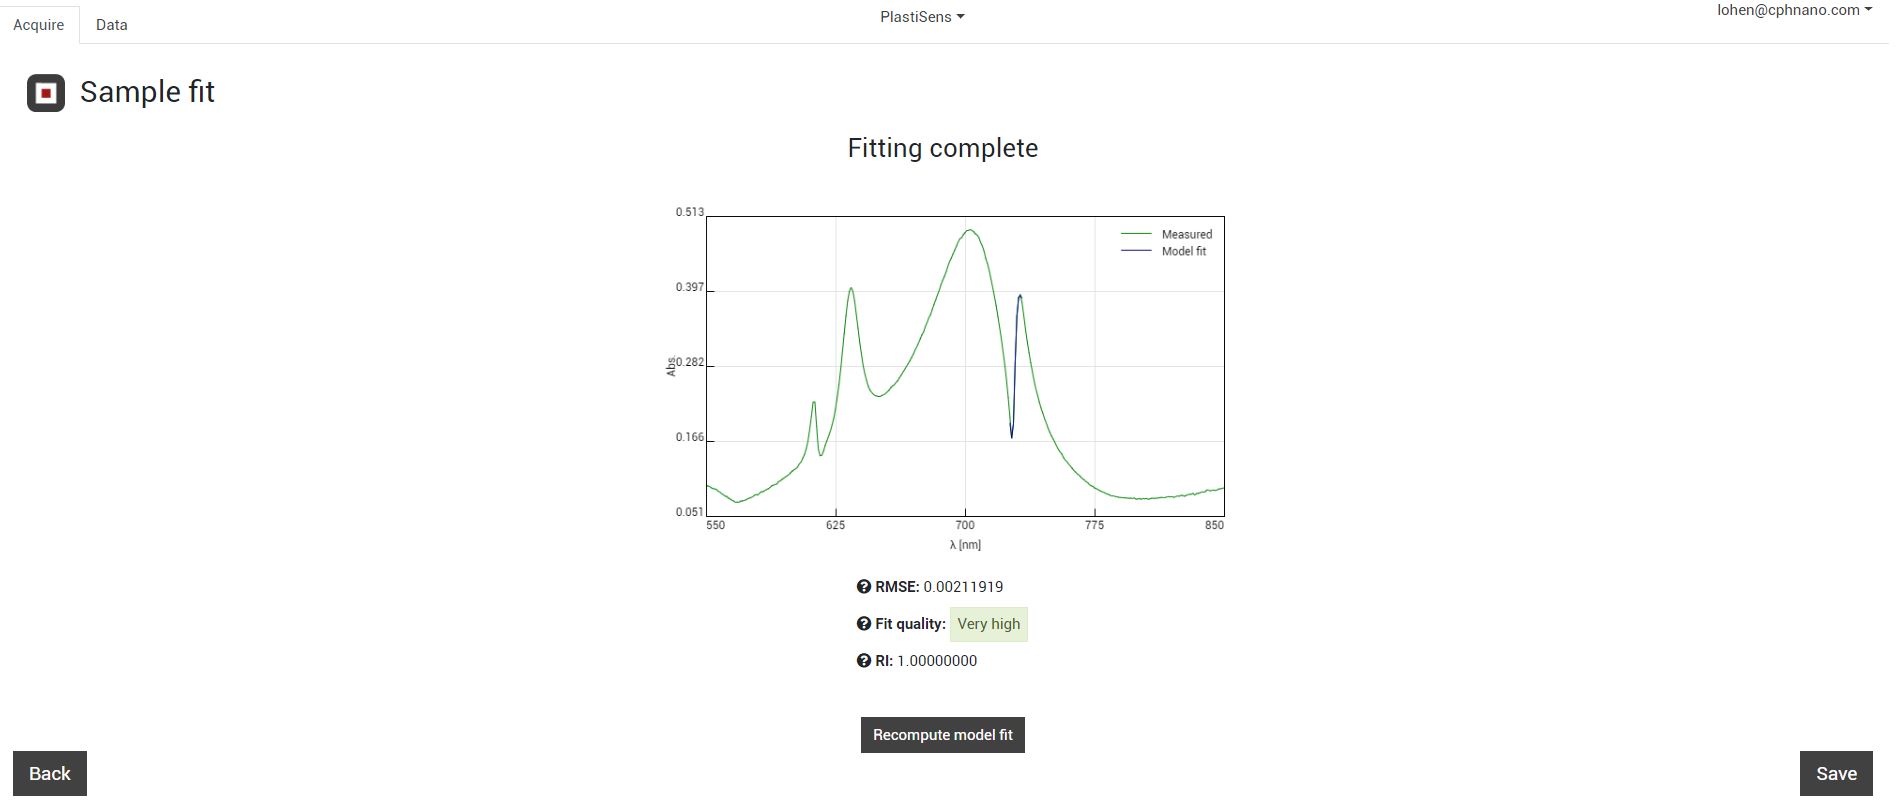
- The reference spectrum is acceptable if the fit quality is above 75%. If the quality is lower, try the following and then acquire a new reference spectrum:
- Ensure that the SpectroCuvette™ is placed in the instrument with the optical filter facing the light source
- Ensure that the height of the light path of your spectrophotometer is between 8.5 mm – 15 mm.
- Try another unused
 |
Step 3 – Sample
3.1: Acquire sample B- side spectrum
Remember to acquire the spectrum using the same settings as in step 3
Dispose the DI- water from the SpectroCuvette™ and carefully dispense your sample into the SpectroCuvette™. Acquire the spectrum through your SpectroCuvette™ with the B- side facing the light source. Save and upload the spectrum. Click "Next" to fit to the software model.
Step 3 – Sample
3.2 Acquire sample A- side spectrum
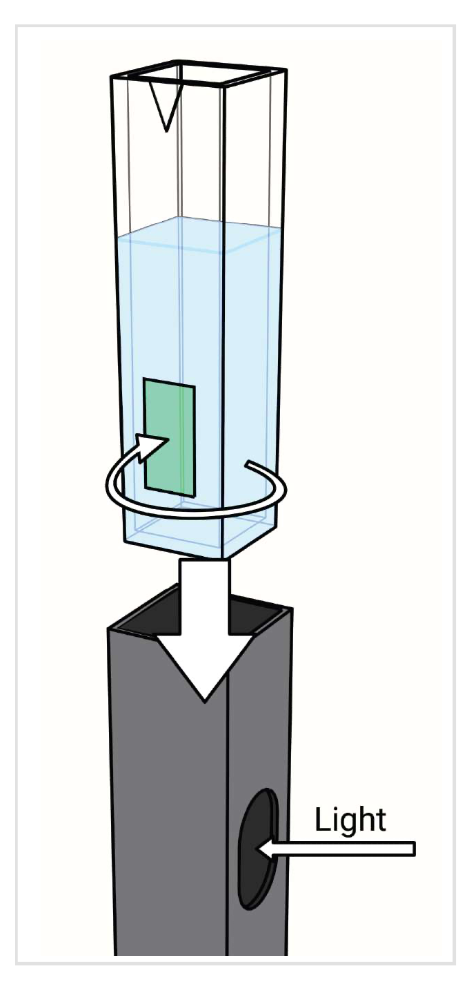
Keep your sample in your SpectroCuvette™ 90 degrees such that the optical filter is not in the light path. Acquire the spectrum through your SpectroCuvette™ with the A- side facing the light source. Save and upload the spectrum.
Step 4 – Finish
Step 4.1: View and export results
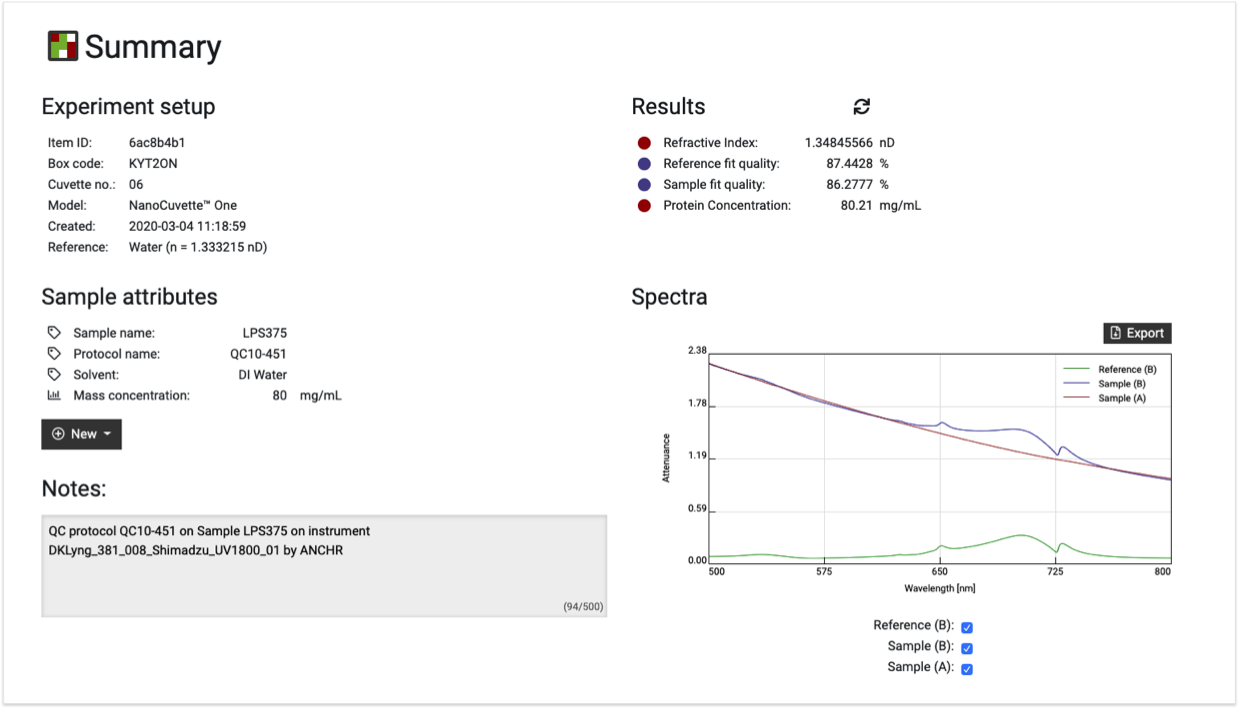
View your experiment setup, spectra and results. It is also possible for you to type in your sample attributes and notes, for you to easily compare experiments and print a report. The spectra can be exported by clicking the "Export" button.
 |